 how-to
Can You Handle HVAC Installation Support for DIY Projects?
Last Updated: November 2, 2026
Quick Summary
HVAC installation support for DIY projects covers equipment selection, sizing guidance, technical phone support, and local installation assistance where offered, so you know which tasks are yours and which require a licensed pro. At The HVAC Super Store, we sell systems at wholesale prices, ship to your door, and offer installation support for local customers on Long Island.
- Refrigerant work requires EPA certification under Section 608 of the Clean Air Act.
- Manual J load calculation should be completed before buying any system.
- A vacuum pump and micron gauge are the two items DIYers most often rent or borrow.
- Anything creating a new electrical circuit almost always needs a permit and inspection.
- Finish prep work before the technician arrives, since time is often billed from arrival.
Table of Contents
- What HVAC Installation Support for DIY Projects Actually Covers
- HVAC System Sizing: Why Manual J Comes Before Any Purchase
- HVAC Installation Tools You Will Actually Need
- HVAC Permits and Codes: What Triggers an Inspection
- Central Air Conditioner Cost to Install and Where DIY Saves Money
- Step-by-Step: Sequencing a Supported DIY Mini-Split or Heat Pump Install
- Hiring a Pro by the Hour: A Practical Hybrid Model
- Plan Your Install and Order the Right Equipment
- Frequently Asked Questions
What HVAC Installation Support for DIY Projects Actually Covers
HVAC installation support for DIY projects is the help a supplier gives a homeowner before, during, and after a self-installed system purchase: equipment selection, sizing guidance, technical phone support, and local installation assistance where offered. At The HVAC Super Store, we sell heat pumps, mini splits, furnaces, and AC systems at wholesale prices, ship them to your door, and offer installation support for local customers on Long Island.
Support does not mean you do the whole job alone. It means you know which tasks are yours and which require a licensed pro.
Homeowner-Safe Tasks vs. Regulated Work
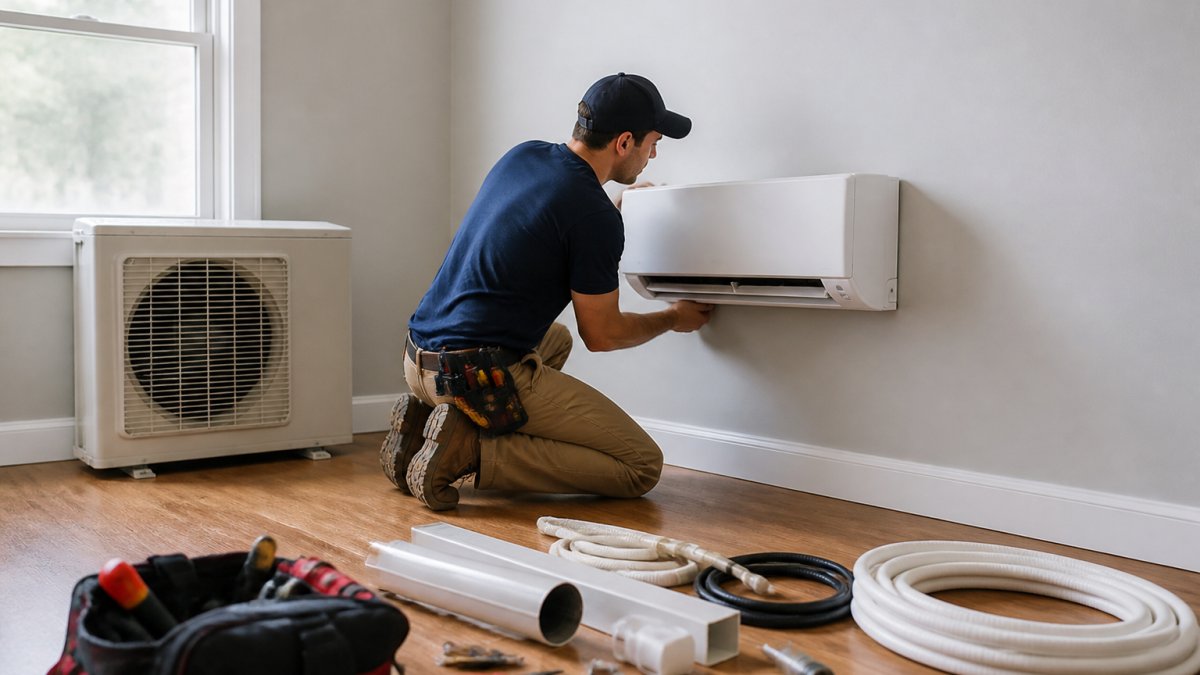
Most of a mini-split job is homeowner-safe. Mounting the indoor unit, running the condensate drain, setting the pad, and hanging the line set cover are all within reach for a careful DIYer.
The regulated work is narrower than people think, but it matters:
- Refrigerant handling. Under Section 608 of the Clean Air Act, refrigerant work requires EPA certification (the EPA).
- Electrical connections. Most areas require a permit and inspection for new circuits.
- Final commissioning. Pressure testing, evacuation, and startup checks need the right gauges and know-how.
A common mistake is assuming "DIY" means "everything." The smart DIYer does the labor and hires out the two or three tasks that carry legal or safety weight.
HVAC System Sizing: Why Manual J Comes Before Any Purchase
HVAC system sizing is the load calculation that determines how many BTUs your home actually needs. Manual J, part of the ACCA residential standards, is the accepted method. Skip it and you risk buying a system that is too small, too large, or wrong for your ductwork.
An oversized unit short-cycles, hurting comfort and efficiency; an undersized one runs nonstop on the hottest days.
Load Calculation and Duct Design Basics
Manual J looks at square footage, insulation, window area, orientation, and local climate. For a deeper walkthrough of how to run the numbers for your own home, see our guide on how to calculate HVAC system load for your home.
Duct design is a separate step. Manual D sizes ducts to match airflow and static pressure, and odd ductwork from a past remodel makes sizing harder.
Watch out: guessing tonnage from square footage alone is the most common DIY sizing error. Buy HVAC Units Direct, Shipped to Your Door It ignores insulation, windows, and air sealing, and usually overshoots.
HVAC Installation Tools You Will Actually Need
You do not need a van full of pro gear. You do need the right tools for the tasks you keep. Here is the short list:
- Torque wrench for flare fittings
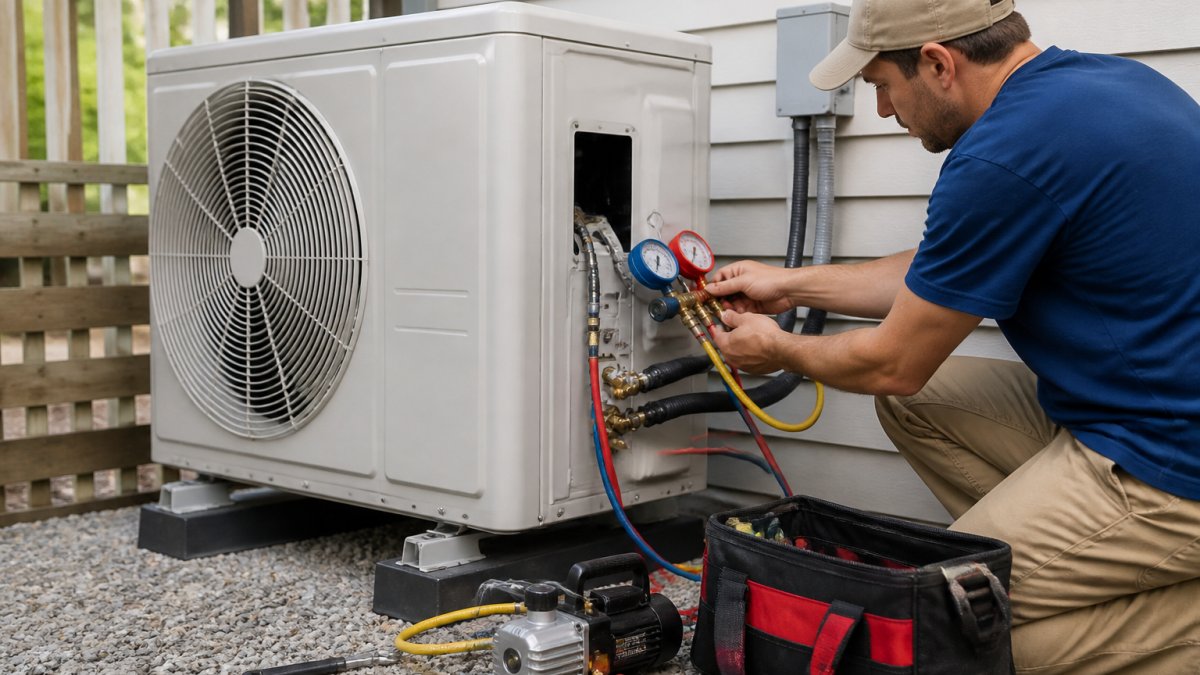
- Vacuum pump and micron gauge for evacuation
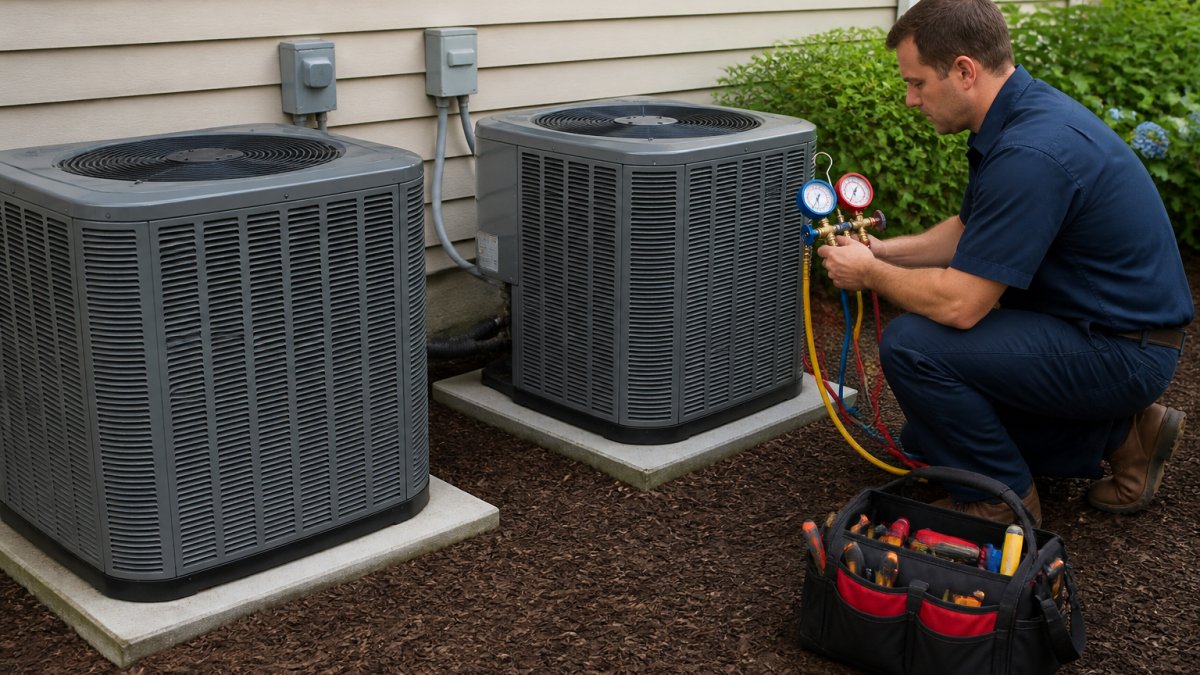
- Manifold gauges for pressure checks
The vacuum pump and micron gauge are the two items DIYers most often rent or borrow. Buying cheap versions of either is a false economy.
HVAC Permits and Codes: What Triggers an Inspection
HVAC permits and codes vary by state, county, and sometimes city, but the triggers follow a predictable pattern. A single mini-split project can touch three permit categories, mechanical, electrical, and sometimes plumbing for condensate, each with its own inspection sequence.
Permit and Inspection Requirements by Project Type
Use this matrix as a starting point, then confirm every line with your local building department. Requirements change, and the authority having jurisdiction (AHJ) is the final word.
| Project Type | Mechanical Permit | Electrical Permit | Inspection Timing | Notes |
|---|---|---|---|---|
| Ductless mini-split, new circuit | Usually yes | Usually yes | Rough-in before close-up; final after startup | Many AHJs want to see the line set and drain before the wall is closed |
| Ductless mini-split, existing circuit | Often yes | Sometimes no | Final after startup | Confirm circuit capacity and disconnect requirements |
| Full system replacement, like-for-like | Often yes | Sometimes no | Final after startup | Some jurisdictions waive the permit for identical tonnage and location |
| New ducted heat pump with duct changes | Yes | Yes | Rough-in and final | Duct design may need to be submitted with the permit |
| Adding a zone to an existing system | Yes | Yes | Rough-in and final | Zoning controls often trigger a separate electrical review |
| Filter changes, thermostat swap (low voltage) | No | No | None | Low-voltage thermostat swaps are typically exempt; line-voltage work is not |
Two patterns stand out. Anything creating a new electrical circuit almost always needs a permit and inspection. And refrigerant line work is frequently inspected before the system is charged, so you cannot skip ahead to startup and backfill paperwork later.
A Jurisdiction-Check Workflow You Can Run in One Call
Before you order equipment, run this sequence. It takes about twenty minutes and prevents the most expensive DIY mistake: buying a system you cannot legally commission.
- Identify your AHJ. Search your county or city website for "building department" or "permit center." In unincorporated areas, the county is usually the AHJ.
- Ask which permit types apply. Give the clerk your project details: equipment type, tonnage, whether a new circuit is involved, and whether new line sets are being run. Ask for the permit application checklist.
- Ask who can legally perform each task. Ask whether the homeowner can pull an owner-builder permit for mechanical and electrical work, and whether refrigerant charging must be done by an EPA Section 608-certified technician in your state.
- Ask about inspection sequencing. Confirm whether the AHJ requires a rough-in inspection before the wall is closed and a final inspection after startup. Ask what documentation the inspector expects, some want manufacturer startup sheets, others want vacuum and pressure-test logs.
- Confirm equipment certification. Ask whether the AHJ requires equipment listed by a recognized testing agency (UL, ETL, or equivalent) and whether the model number must appear on the permit application.
- Get it in writing. Email the clerk a summary of your understanding and ask them to confirm or correct it.
Watch out: some jurisdictions allow homeowner permits for mechanical work but not electrical, and a few require a licensed contractor for any refrigerant-line connection regardless of who pulls the permit. Asking only "do I need a permit?" will not surface those distinctions.
How Permits and Certification Affect DIY Eligibility
Permits are only one gate. Equipment certification and refrigerant rules are the others. Under Section 608 of the Clean Air Act, refrigerant handling requires EPA certification, and most states enforce that at the point of charging.
Budget for permit fees and inspection scheduling before you buy. The U.S. Department of Energy guidance on home heating and cooling is a useful reference for efficiency standards, but your local code office remains the final authority on permits, inspections, and who may perform each task.
Central Air Conditioner Cost to Install and Where DIY Saves Money
Central air conditioner cost to install is driven by three things: equipment, labor, and extras like line sets, pads, and electrical. Wholesale buying changes the equipment math; DIY saves the most on labor, but only on tasks you can legally and safely do.
Where DIY genuinely saves money:
- Removing the old unit
- Setting the pad and mounting brackets
- Running the condensate drain
Where DIY does not save as much as people hope:
- Refrigerant charging, which needs EPA certification
- Electrical work, which needs a permit and often a licensed electrician
- Final commissioning, which needs gauges and experience
For a realistic per-room budget on ductless systems, our breakdown of mini split installation cost per room compares single-zone and multi-zone pricing so you can weigh it against doing the work yourself.
Step-by-Step: Sequencing a Supported DIY Mini-Split or Heat Pump Install
Sequencing matters more than speed. Do the tasks in the wrong order and you will redo work. Here is the order we recommend:
- Confirm sizing and location. Finish the load calculation and pick the indoor and outdoor spots.
- Pull permits. Get the electrical and mechanical permits your area requires.
- Mount the indoor unit and pad. Level the bracket, set the outdoor pad.
- Drill the wall penetration. Slope it slightly so condensate drains out.
- Run the line set and drain. Protect the flares and insulate fully.
- Wire the electrical. Disconnect switch and dedicated circuit, per code.
- Pressure test with nitrogen. Hold the test and check for leaks.
- Evacuate with the vacuum pump. Pull a deep vacuum and confirm with the micron gauge.
- Release refrigerant and start up. Check pressures, airflow, and temperature split.
- Get the inspection signed off. Then commission and document.
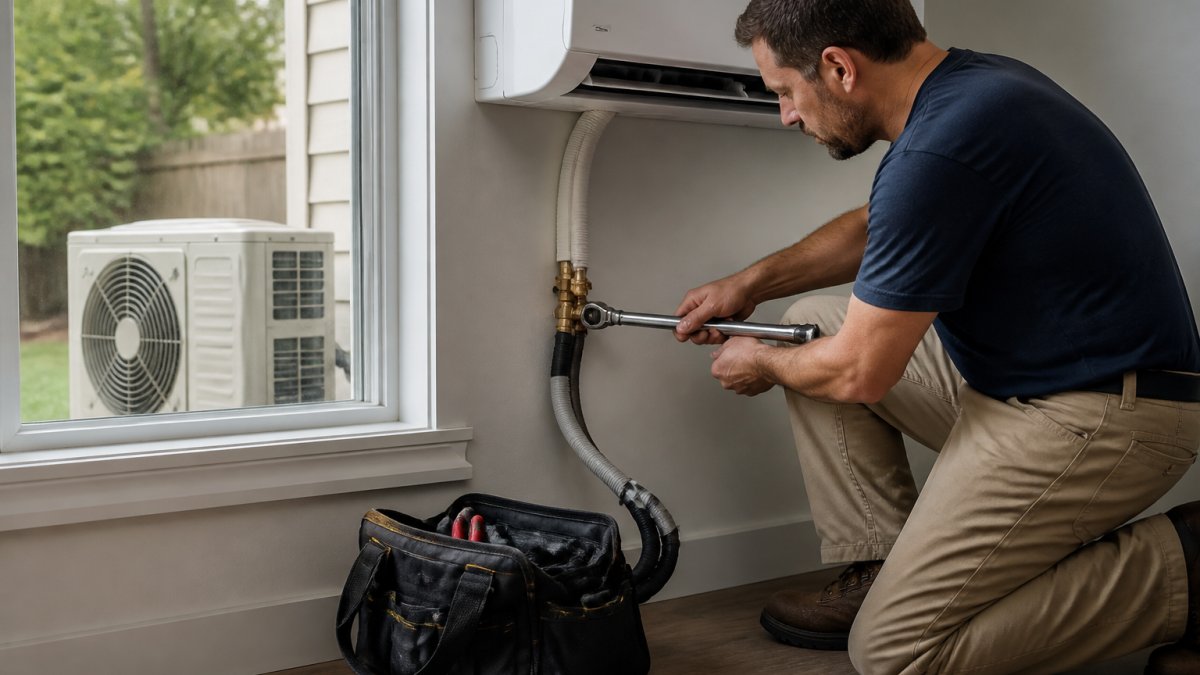
Steps 7 and 8 are where most DIY installs fail. A leak you cannot find, or a vacuum that will not hold, is the point to call in help.
Hiring a Pro by the Hour: A Practical Hybrid Model
The hybrid model works because it separates labor from liability. You supply labor on tasks that carry no legal or safety weight, and pay a licensed technician for the checkpoints that do. It fails when homeowners treat it as "call someone if I get stuck." It works when you scope the professional's time in advance, complete prep work before they arrive, and document the handoff.
Scoping the Professional's Time
List every task in your install and mark each as homeowner-safe, permit-required, or certification-required. The certification-required column is usually short: pressure testing, evacuation, refrigerant charging, and startup commissioning.
A practical split looks like this:
| Task | Who Does It | Why |
|---|---|---|
| Sizing and layout | You, with supplier guidance | Free to do, easy to verify |
| Mounting and line set | You | Straightforward labor |
| Electrical | Licensed electrician | Permit and code |
| Pressure test and evacuation | Pro by the hour | Gauges and certification |
| Commissioning | Pro by the hour | Measurable acceptance checks |
| Final inspection | Local inspector | Required by code |
Once the list is set, group the professional tasks into a single visit where possible. Pressure testing, evacuation, and commissioning can usually be done in one trip if the system is fully assembled and the electrical rough-in is complete.
What to Complete Before the Technician Arrives
Technicians often bill for their time from arrival, so finish prep work before they arrive. Every task you finish before they pull into the driveway is money you keep. The pre-arrival checklist:
- Equipment mounted and secured. Indoor unit level on its bracket, outdoor unit on its pad with clearance per the manufacturer's installation manual.
- Line set run and flares torqued. Use a torque wrench and the manufacturer's specified foot-pound values. Poorly made flares are the most common cause of a failed pressure test.
- Drain routed and tested. Pour water through the condensate line and confirm it drains freely.
Watch out: if the electrical rough-in is not complete when the technician arrives, most will not proceed with evacuation and commissioning, because the system cannot be started and verified. You will pay for a visit that ends with a reschedule.
How Hourly Pricing and Scheduling Usually Work
Pricing models for limited-scope professional support vary, so ask any technician which model applies before you book, and what the trip charge covers.
Scheduling matters as much as pricing. Book the professional visit for a window when the electrical inspection is complete or scheduled, the equipment is fully assembled, and you can be on site for the full block.
When you hire help by the hour, you still need a supplier who can answer questions and stand behind the equipment. Buy HVAC Units Direct, Shipped to Your Door
Plan Your Install and Order the Right Equipment
The best install starts with the right order. Confirm your load calculation, permit status, and task list before you buy anything. Then order equipment that matches the sizing, not the other way around.
At The HVAC Super Store, we ship heat pumps, mini splits, furnaces, and AC systems straight to your door at wholesale prices. Buy HVAC Units Direct, Shipped to Your Door Local customers get professional installation support,
Frequently Asked Questions
Can a homeowner install an HVAC system themselves?
You can handle a meaningful share of the work, but not all of it. Running line sets, mounting indoor and outdoor units, wiring the disconnect, and setting the condensate drain are tasks many homeowners complete. Refrigerant charging, brazing, and final electrical connections usually require a licensed technician under state and local rules. HVAC installation support works best when you split the job: you do the labor-heavy tasks, a pro handles the regulated ones.
Do I need a permit to install or replace an HVAC system?
In most jurisdictions, yes. Replacing or adding a system typically triggers a mechanical permit, and some areas require a separate electrical permit for the disconnect and wiring. HVAC permits and codes vary by county and municipality, so check with your local building department before ordering equipment. Skipping the permit can void warranties and create problems at resale, and inspectors often want to see the unit before lines are closed up.
What tools are needed for a DIY HVAC installation?
At minimum you need a vacuum pump and micron gauge, manifold gauges, a torque wrench for flare fittings, a tubing cutter and flaring tool, a nitrogen regulator for pressure testing, a multimeter, and a drill with hole saws for line-set penetrations. Add a level, pipe insulation, and a condensate pump if gravity drainage is not possible. Renting the vacuum pump and gauges is often cheaper than buying for a single install.
How do I choose the right size HVAC system for my home?
Start with a Manual J load calculation, which factors square footage, insulation, window area, climate zone, and occupancy. Do not size by square footage alone, since that shortcut leads to oversized systems that short-cycle and leave rooms humid. A qualified technician or a load-calculation service can produce the Manual J report for a modest fee, and you can hand that report to a supplier to match the right equipment.
The hardest part of a supported DIY install is not the wrench work. It is knowing where your skills end and a licensed pro needs to step in. Get that boundary right and the project stays on budget and on the right side of code. The HVAC Super Store helps you size the system, order the right equipment at wholesale pricing, and reach installation support when you need a second set of eyes. Get started with The HVAC Super Store and install with confidence.